Using Jekyll and GitHub Pages for Blogs
Although blogging in my opinion is an enjoyable experience, there is one thing that made blogging kind of difficult to sustain up until now, and that is managing a database. Sometimes you want to create content locally and therefore, keeping a database can be tricky since you’re not supposed to create a database using version control. If you are fairly technical and feel a similar pain as I do, I have a solution for you; I recommend using Jekyll and GitHub Pages. Instead of manually managing content and doing database backups, you can store all of your content using Git and Markdown templates (if you’re not familiar, this is what GitHub uses for README.md files).
Phase 1: Setting up Ruby
To get started, from the method I will provide you with in this example, you will need to make sure Ruby is installed on your machine. This is required to run Jekyll, since Jekyll is built in Ruby. Here’s some instructions on how to install Ruby: https://www.ruby-lang.org/en/documentation/installation/.
Phase 2: Creating your Jekyll project
Once you’ve installed Ruby on your machine, run the following commands:
cd /path/to/download/jekyll
jekyll new your_github_username.github.io
cd your_github_username.github.io
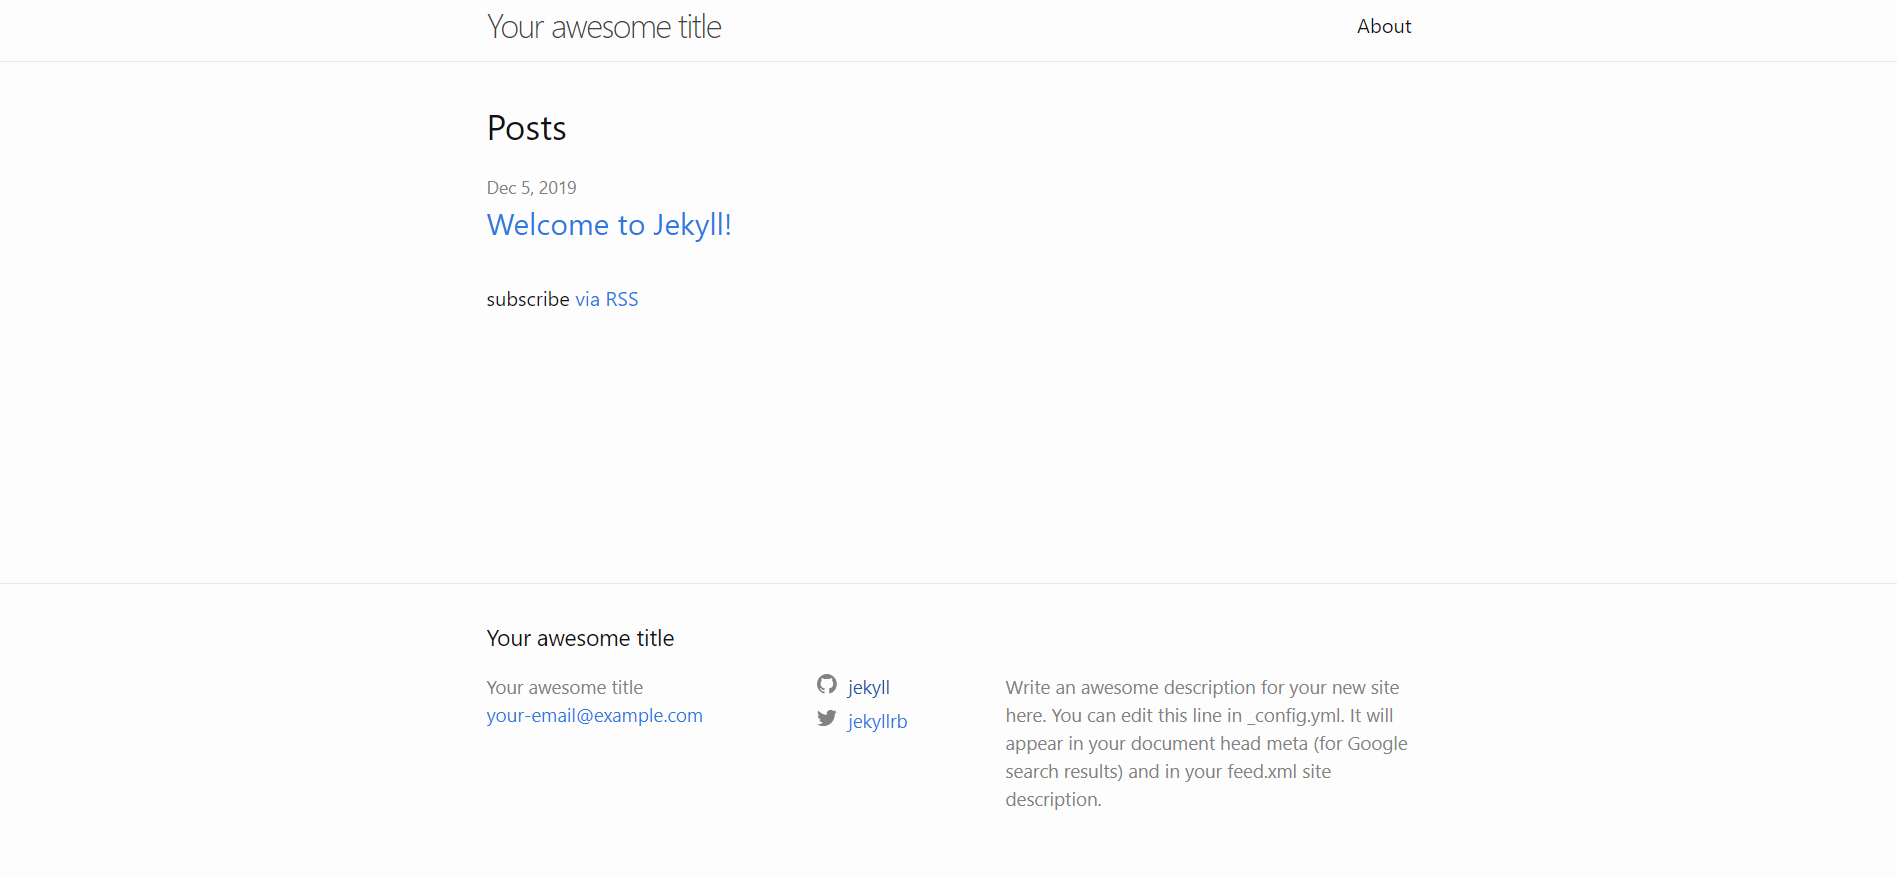
bundle exec jekyll serveOnce you’ve entered in those commands, navigate to localhost:4000. You should now be seeing your Jekyll site.
You’re Jekyll site should look something like this if it is working correctly:
You also have the ability to run Jekyll on another port, such as 4001. You can do this by adding the --port flag,
like this: bundle exec jekyll serve --port 4001.
Phase 3: Adding your Jekyll project to GitHub
Once you’ve gotten your Jekyll static site up and running, you can now make it go live on GitHub Pages.
To do that, you will need to create a new public (if you are using the free version of GitHub) repository
in GitHub in the following format: your_github_username.github.io.
Once the repository is created in GitHub, you will need to commit all the files to push it up to the repo. Here’s the commands you will need to enter in your Terminal:
# Initialize your git repository locally
git init

# Add git files
git add .

# Commit your files
git commit -m "Initial commit"

# Add remote Git URL
git remote add origin https://your_github_git_repo_url/username/your_github_username.github.io.git

# Push to Git
git push origin master
Phase 4: Adding your Jekyll project to GitHub Pages
To do this, you will need to go to the Settings page in GitHub and scroll down to where you see GitHub Pages. You should see something like the screenshot below:
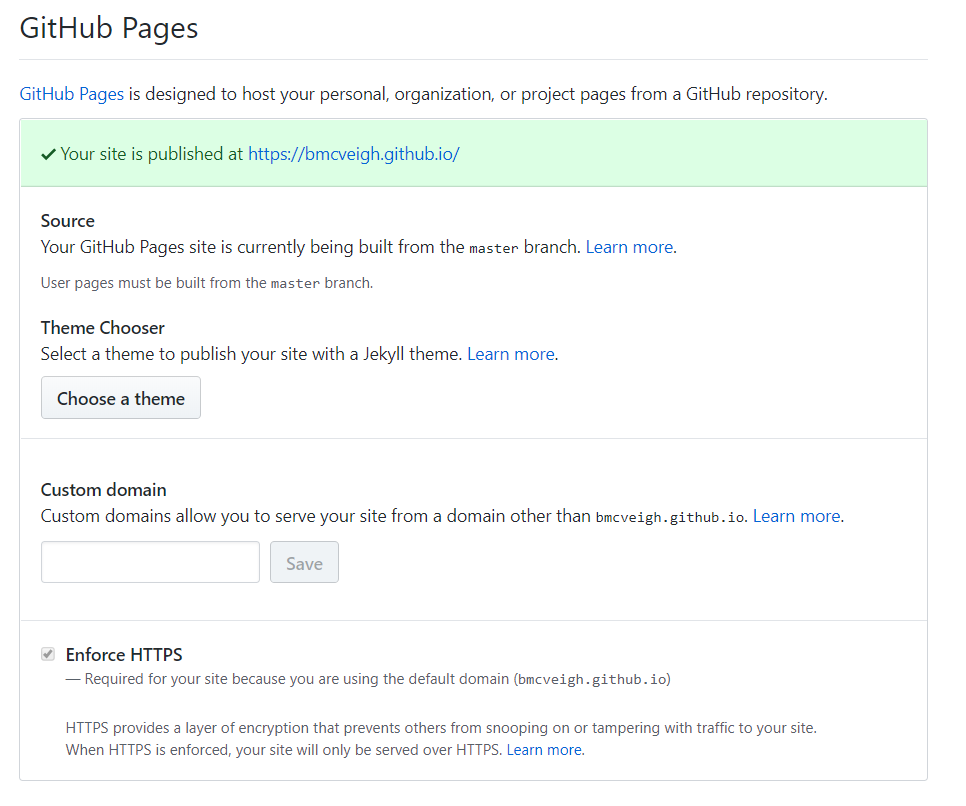
Once you’ve done that, navigate to the URL you see. It may take about 20 minutes for GitHub to spin up your site,
so if you don’t see your site right away, that is most likely why you don’t see it. It may also be because you
need an index.html file at the root of your project.